How to Host a 24/7 Minecraft Server on Your PC (Self-Hosting Guide)
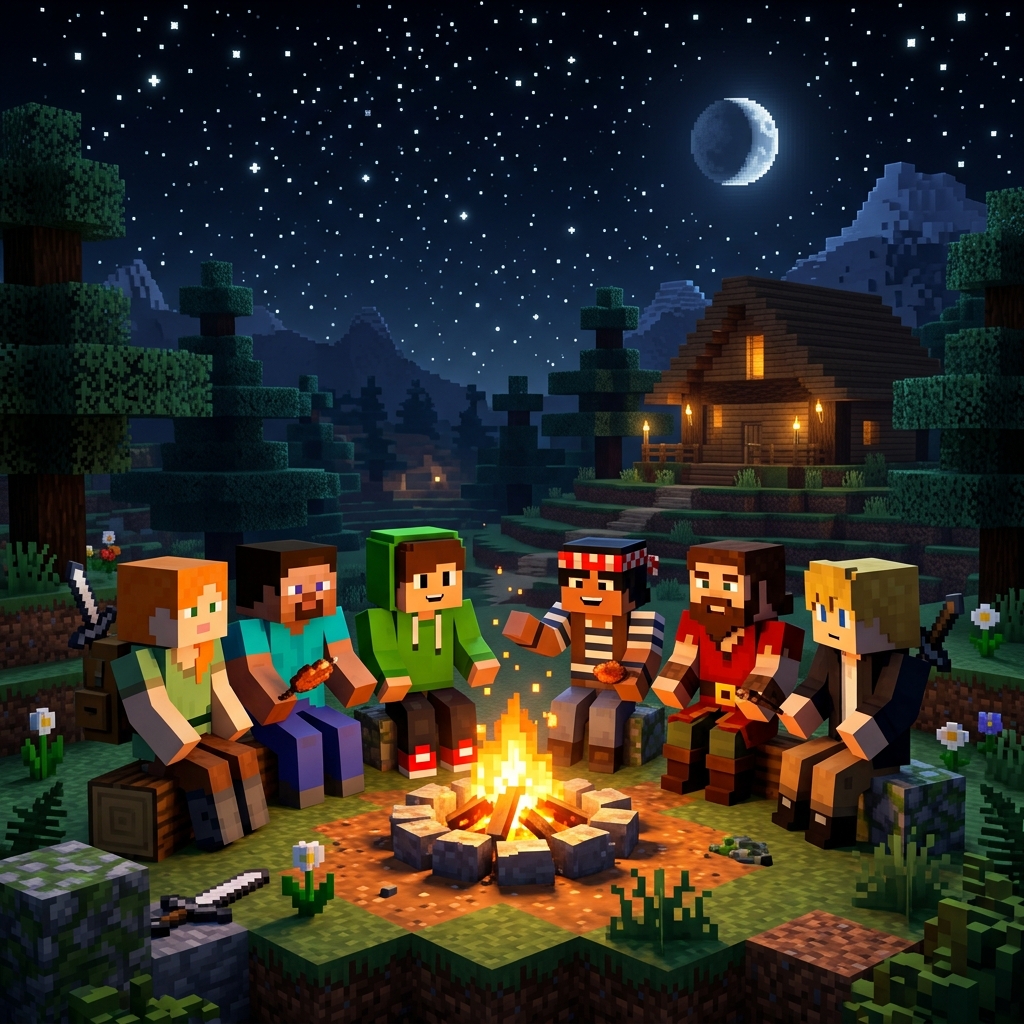
Setting up your own game server provides total creative freedom, direct folder access, and a custom multiplayer experience. Learn how to host a 24/7 Minecraft server on your own computer. We cover Java setup, port forwarding, and why free hosting is often a better alternative. Whether you are planning to host a small coop world for your close friends or build a public gaming community, configuring the server correctly is essential for maintaining 20 TPS (Ticks Per Second) and low connection latency.
In this comprehensive tutorial, we cover the exact system specifications, command blocks, configuration file lines, and plugin files required to get How to Host a 24/7 Minecraft Server on Your PC (Self-Hosting Guide) running. Follow each step carefully to prevent server crash loops, OutOfMemory exceptions, and common connection issues.
Step-by-Step Configuration Guide
Download Java Runtime
Install Java JDK 17 (or JDK 21 for version 1.20.5+). Verify installation in Command Prompt using 'java -version'. Make sure to select the build version that matches your game server software exactly to prevent class loading errors during startup.
Download Server Binaries
Download the PaperMC jar file and place it inside a clean folder (e.g., C:/MinecraftServer). Make sure to select the build version that matches your game server software exactly to prevent class loading errors during startup.
Accept EULA terms
Create a run.bat file, run it once to generate files, open eula.txt, set eula=true, and save the file. This step is critical for proper server operation. Ensure that you have taken a manual file backup before committing these changes to disk.
Setup Router Port Forward
Access your router dashboard, create a virtual server rule for port 25565 (TCP/UDP), and forward it to your computer's local IP address. This step is critical for proper server operation. Ensure that you have taken a manual file backup before committing these changes to disk.
Recommended Configurations and Setup Files
To configure your server files correctly, navigate to the File Manager in your control panel and open the corresponding configuration files. Paste or modify the settings as shown in the configuration block below. These lines help prevent database thread blockages, optimize tick timing performance, and reduce entity rendering overhead on the game host:
Frequently Asked Questions
Will keeping my PC on 24/7 damage it?
Modern PCs can run continuously, but it increases power consumption, adding $5 to $15 to your monthly electricity bill.
How do my friends connect?
They connect using your public IP address (found via Google 'what is my IP') followed by the port: IP:25565.
Host your game server in a secure cloud datacenter. Claim your free 24/7 server on FreeGameHost.
Start Server Free →Related guides: How to OP yourself on a Minecraft server • How to make a Minecraft server for friends • Best Minecraft server plugins 2026